The Intake Skirt is a very important part and if it has a large tear in it, the robot will not clean as well. It is important to inspect the Intake Skirt regularly. If it has any large tears or if it is excessively worn, it is best to replace it. This will ensure that your robot is vacuuming as best as possible.
Difficulty
MEDIUM
Materials
- Phillips 1 Screwdriver
- Replacement INT-P008 Intake Skirt
Estimated Time
20 Minutes
Instructions
-
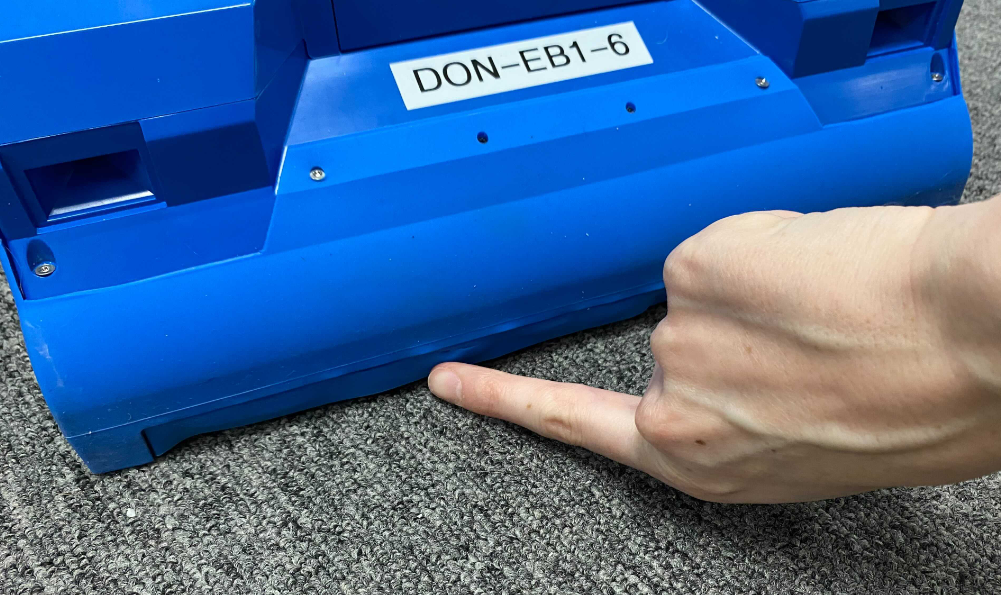
Turn off power to the robot with the switch located under the corner next to the battery compartment.

-
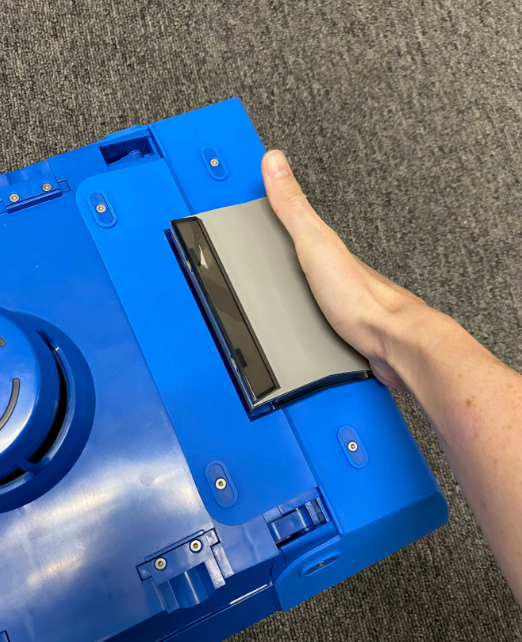
Remove the battery.
-
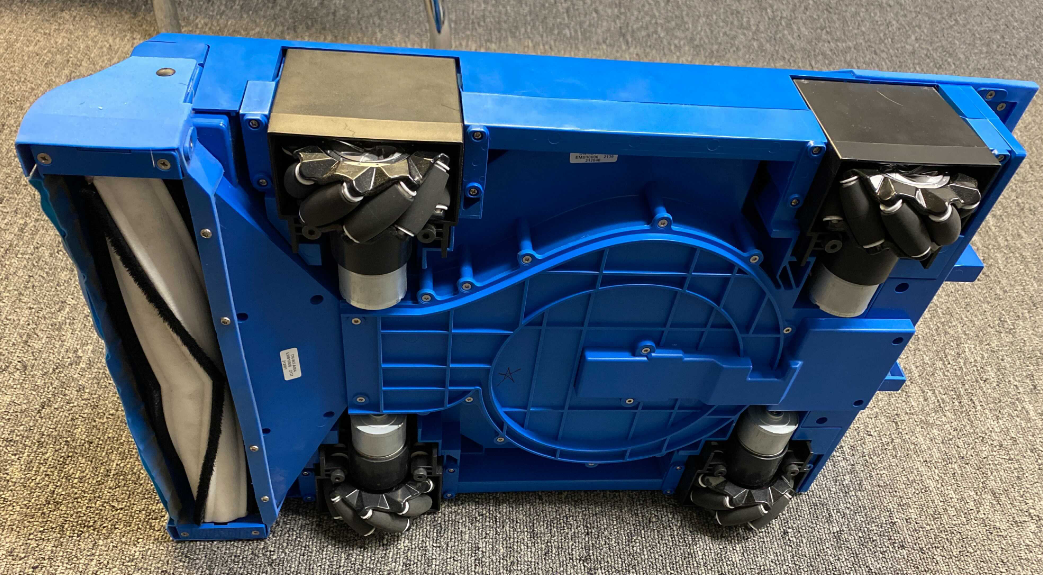
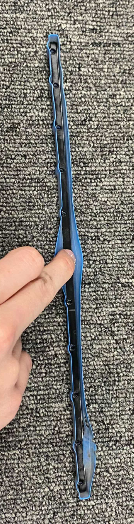
Locate the Intake Skirt.
-
Turn the robot on its side.
-
Make sure the intake skirt is properly mounted onto the screw heads and it is not disconnected at any point.
-
Look for any wear or tear on the Intake Skirt. If it is damaged, replace it using the procedure below
-
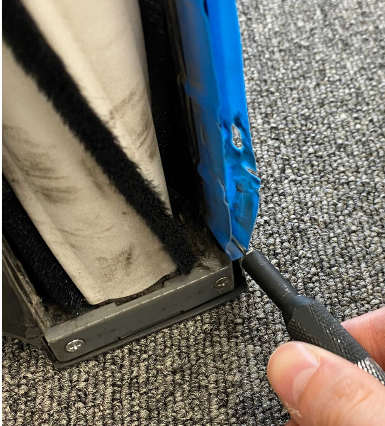
Unscrew all 11x screws using a P1 driver. Set these screws aside and do not lose them.
-
Remove the Intake Retainer. Set aside and do not lose.
-
Discard the old skirt.
-
Insert the skirt retainer into the skirt and align them together.
-
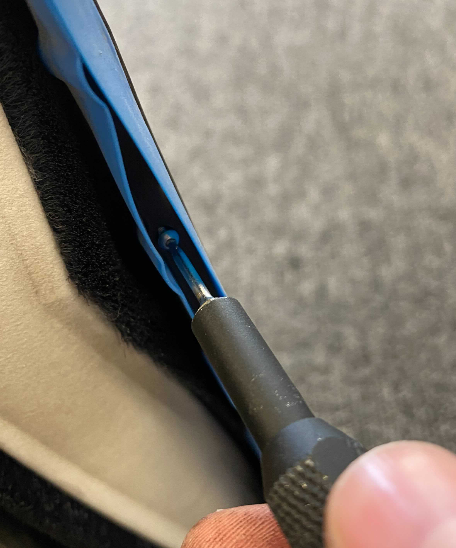
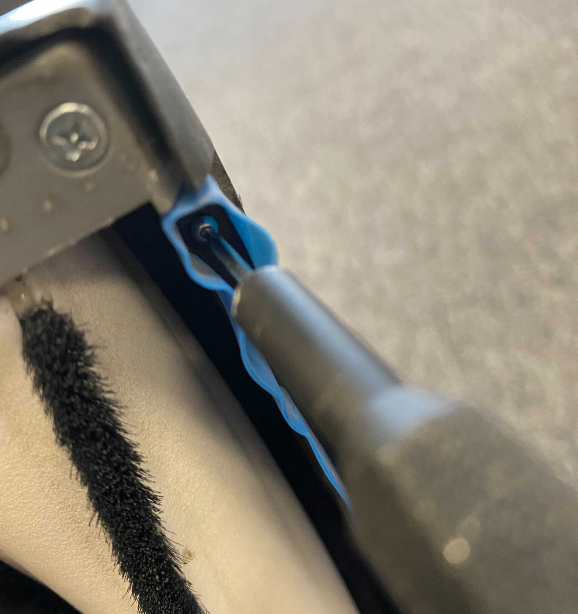
Take 1x 95911A118 M2 x 0.40 mm Thread, 8mm Long screw and align it with the outermost hole on the INT-P008, BDY-P056, INT-P018, and the intake. Tighten the screw. Tighten the screw using a P1 driver. Do not over-tighten. If the rubber starts bowing outward, then the screw is too tight. You should slightly loosen it.
HALF CIRCLES POINT IN TOWARD THE ROLLER.
-
Take 1x 95911A118 M2 x 0.40 mm Thread, 8mm Long screw and align it with the OTHER outermost hole on the INT-P008, BDY-P056, and the intake. Tighten the screw using a P1 driver.
-
Now take the remaining 9x 95911A118 M2 x 0.40 mm Thread, 8mm Long screws, align with the holes and tighten them. Tighten the screws using a P1 driver.