After long periods of use, the roller can become jammed. When that is the case, you simply need to disassemble it and remove any debris that is causing the jam. Additionally, the robot manufacturer recommends cleaning the roller out regularly (roughly every quarter) in order to extend the roller motor's lifetime.
Difficulty
MEDIUM
Materials
- Phillips 1 Screwdriver
- Snips
- Roller Spacing Jig
- Optional: Safety Knife
- Optional: 1.5mm hex driver
Estimated Time
20 Minutes
Instructions
Remove the Brush Roller
-
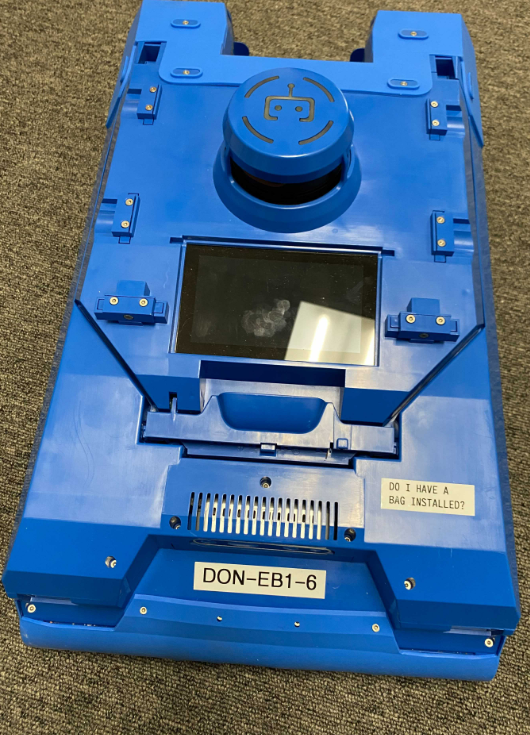
Turn off power to the robot with the switch located under the corner next to the battery compartment.

-
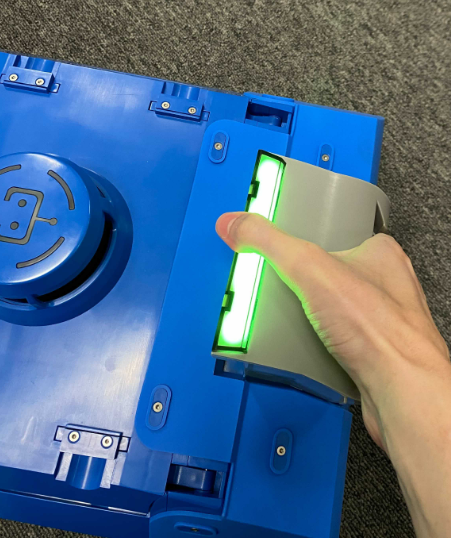
Remove the battery.
-
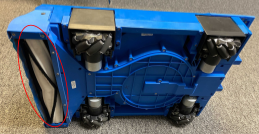
Turn the robot on its RIGHT side.
-
Locate the Roller at the front of the robot.
-
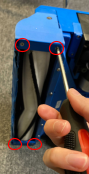
Loosen and remove the 4x screws using a Phillips 1 screwdriver. Set the screws aside.
-
Slide the Roller Retainers out and pivot them out of the way.
NOTE - The retainers will remain attached to the robot.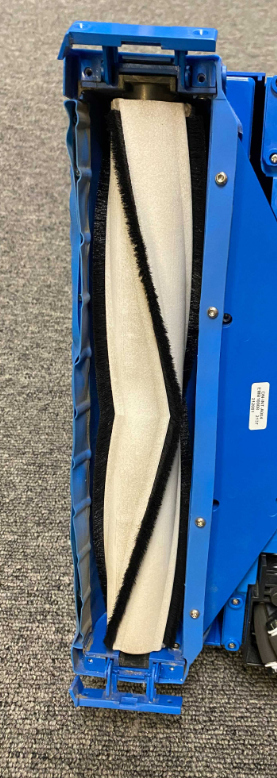
-
Carefully remove the Full Brush Roller from the Intake.
CAUTION - Make
      sure you do not drop the Inner Roller Core out of the Outer Brush while
      removing.
Disassemble and Clean
- Pull the Inner Roller Core out of the Outer Brush and set aside.

- Look for any debris or hair around the outside of the Outer Brush. Remove any visible debris. Cut and remove any hair that has wrapped around the Outer Brush.
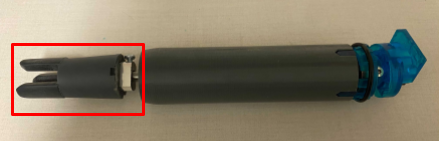
- Locate the bearing on the far end of the Outer Brush.

-
Remove any hair or debris that is wrapped around the bearing. Make sure the Plastic Slider and the bearing can move freely.
-
Check the bristles for any damage or excessive wear. If the bristles are damaged, replace the Outer Brush.
-
Check the Outer Brush for any cracks or damage. If the plastic is broken, replace the Outer Brush.
-
Set the Outer Brush aside.
-
Look for any debris wrapped around the Inner Roller Core. Remove any debris or hair.
-
Locate the bearing and O-ring in the Inner Roller Core.
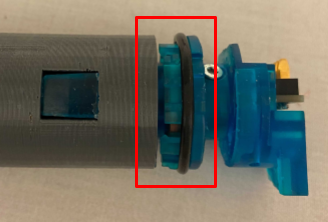
-
Make sure the O-ring is seated properly into the groove.
-
Make sure the bearing can rotate freely.
-
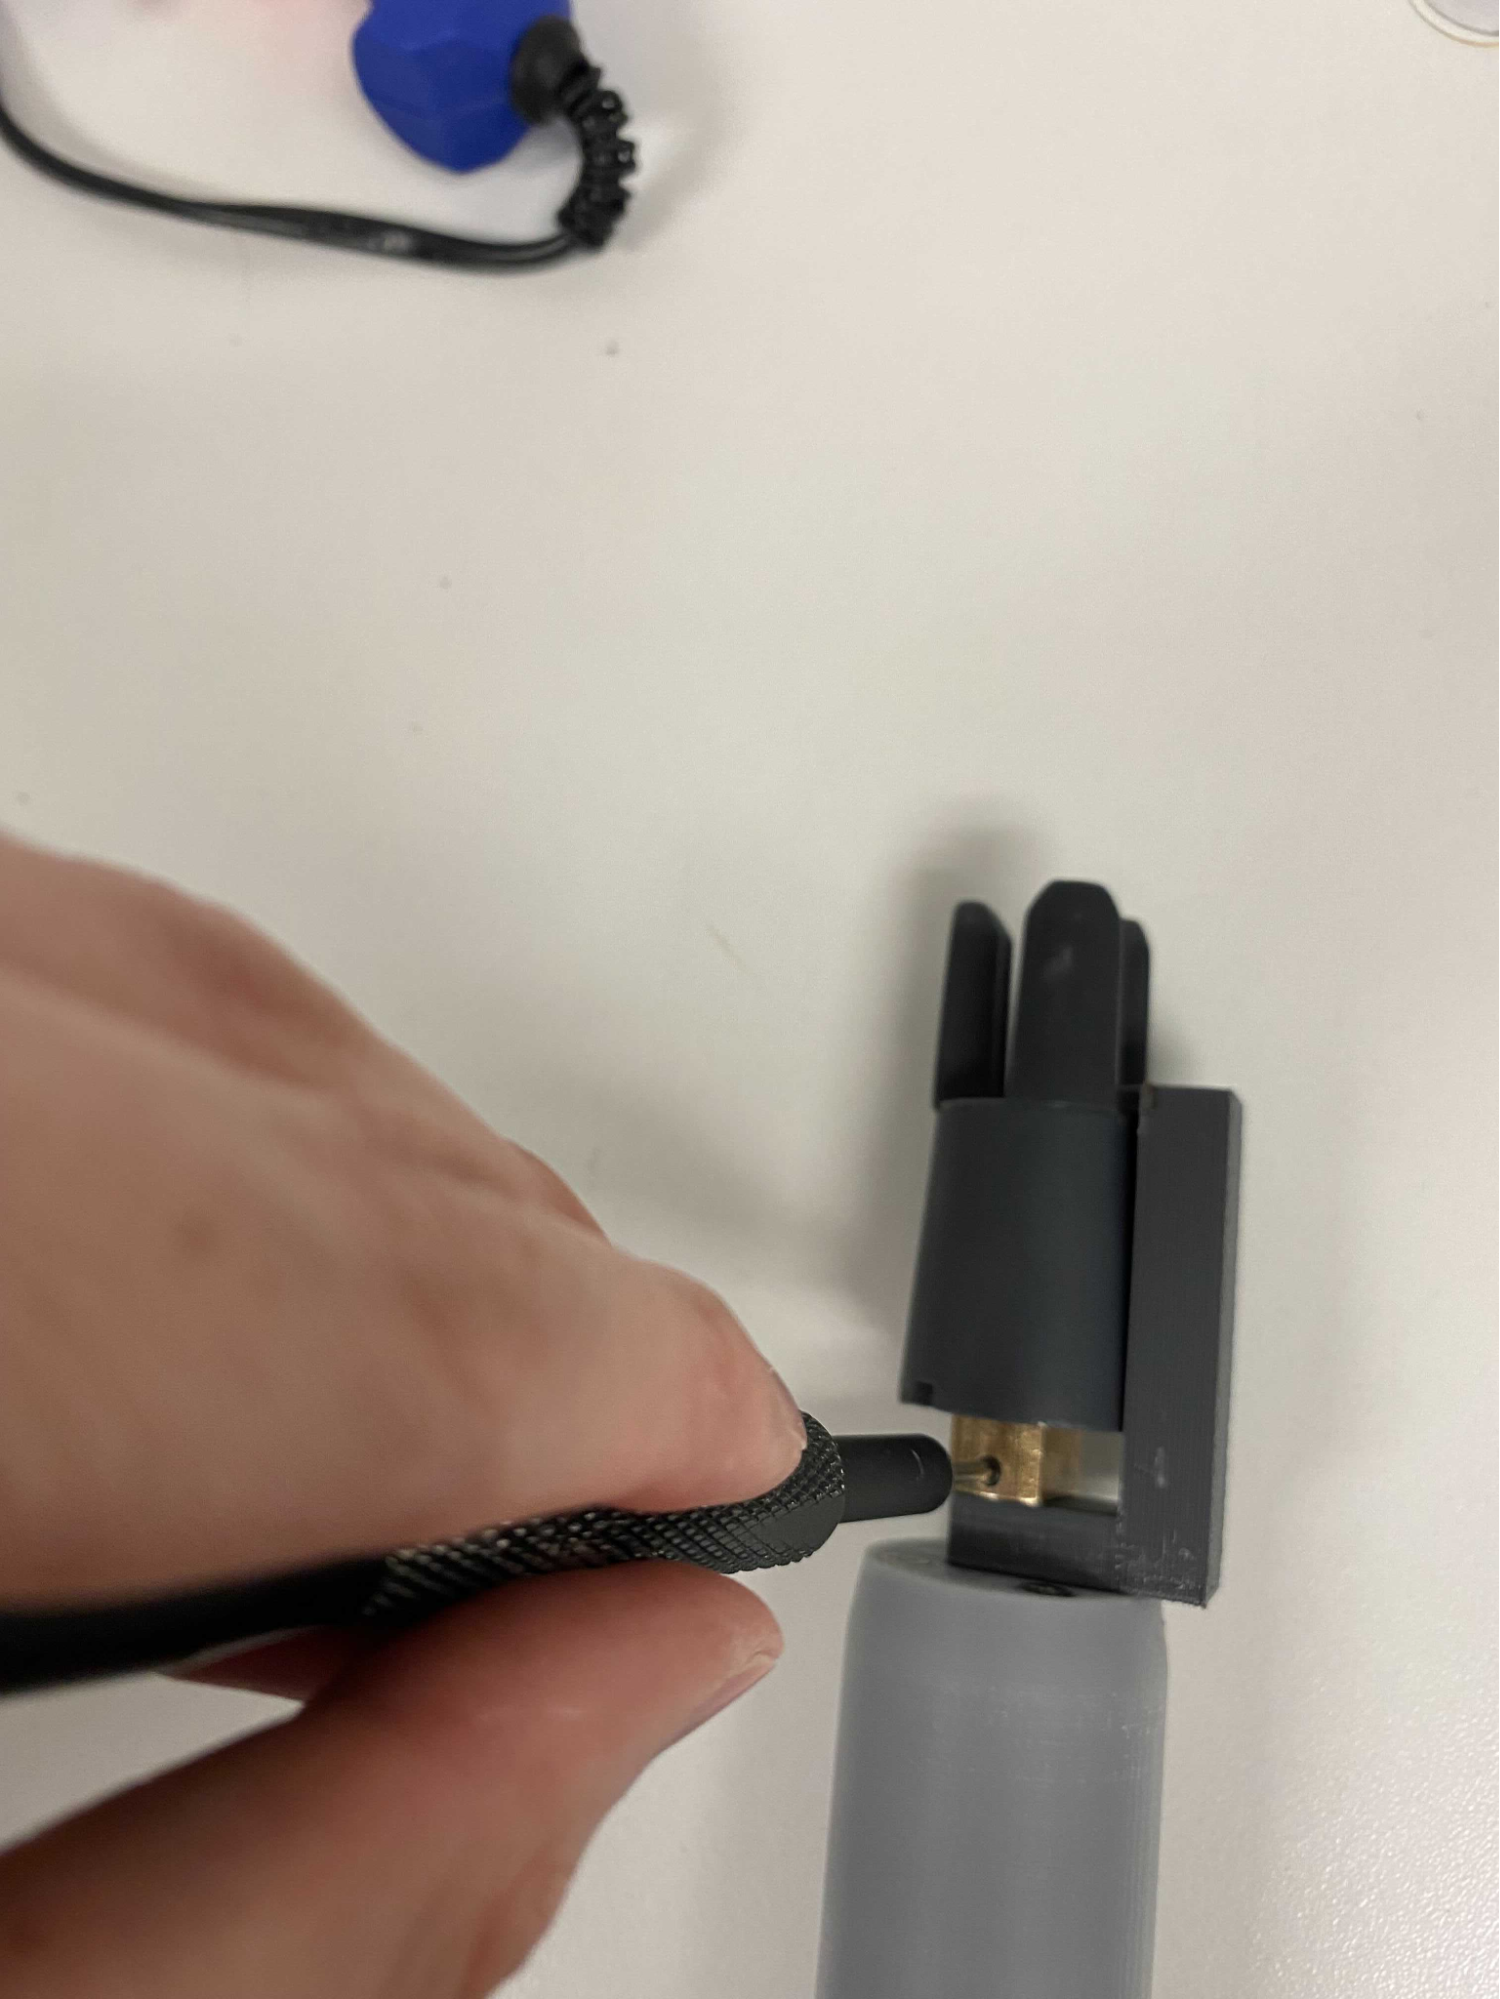
Locate the Rubber Driver at the end of the Inner Roller Core.
-
Turn it slightly to make sure the Roller motor is still able to move.
-
Make sure the set screw on the side of the Rubber Driver is tight. If you need to re-tighten it, make sure the spacing matches the spacer jig as shown. Use a 1.5mm hex driver.
Re-assemble the Brush Roller
-
Slide the Inner Roller Core back into the Outer Brush. Make sure the Rubber Driver is properly aligned to the geometry inside on the roller as you slide it in. Be careful as you slide in the O-ring to make sure that the O-ring does not get displaced.


-
Insert the Full Brush Roller into the Intake. Make sure the sliders on both sides are aligned.
-
Pivot and slide the Roller Retainers into the Intake.
-
Tighten the 4x screws using a Phillips 1 screwdriver.
-
Place the robot back on the floor.